How to Connect a Canon Printer to WiFi Easy Steps Guide 2026
How to connect a Canon printer to WiFi comes down to three steps: start wireless setup on the printer, let the Canon app or setup software send your network name and password to it, and then add the printer to your phone or computer. The exact buttons depend on your model. This guide covers the general process, the PIXMA G3010, WPS, phone and computer setup, and a new router.
Quick Answer
To connect your Canon printer to Wi-Fi quickly, follow these essential steps:
- Turn the printer on and confirm your router broadcasts a 2.4 GHz network.
- Start wireless setup from the printer, the Canon PRINT app, or setup software.
- Choose your network name and enter the password carefully.
- Wait until the WiFi indicator stays lit.
In This Guide
Quick Diagnostic Table
| Symptom | Likely Cause | Fix |
|---|---|---|
| Printer cannot find WiFi | Router is on 5 GHz only, or the printer is too far away | Enable the 2.4 GHz band and move the printer closer |
| Password rejected | Typing error, or wrong network selected | Re-enter the key carefully and check the SSID |
| Printer connected but computer cannot find it | Printer was never added to the computer, or the devices are on different networks | Put both on the same network, then add the printer in Windows or macOS |
| Printer shows offline | Printer lost its network, or its address changed | Check the printer WiFi indicator, then restart the printer and router |
| Printer keeps disconnecting | Weak signal, interference, or router energy saving | Reduce distance and obstacles, and check router settings |
| WPS does not work | Model or router does not support it, or the two minute window passed | Repeat the sequence quickly, or use app setup |
| Printer still uses the old network | Old credentials are saved | Run the wireless setup again on the new network |
| Canon app cannot find printer | Printer is not in setup mode, or the phone is on another network | Start setup mode on the printer and recheck the phone WiFi |
| New router will not connect | Same name on both bands, or router security settings | Give each band its own name and use the 2.4 GHz network |
| Works on one band, fails on the other | Model does not support 5 GHz | Use 2.4 GHz |
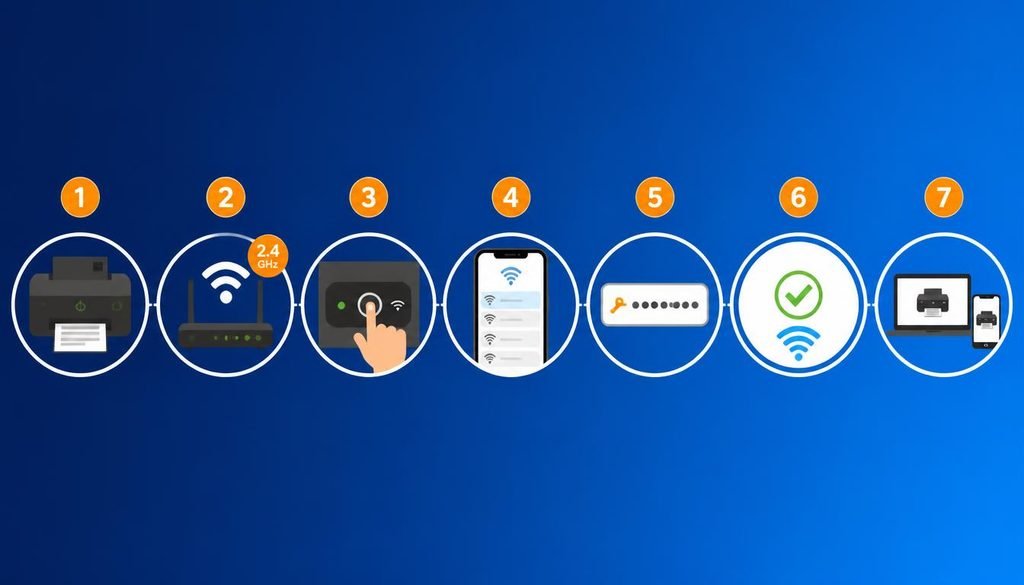
How to Connect a Canon Printer to WiFi
This is the general process. Canon publishes separate setup guides per model, so treat these steps as the shape of the process, not an exact script. Exact button names and setup steps can vary by Canon model.
Step 1: Prepare the printer
Turn the printer on and wait until it finishes any cleaning or head alignment. Canon’s setup guides tell users to let those processes finish before starting wireless setup.
Step 2: Check the WiFi network
Confirm that your device can open a website on the router. Canon’s PIXMA wireless guide asks for a working access point and a connected device before setup. If you are unsure about your router, see how to access your router settings.
Also check the band. Some Canon printers support only 2.4 GHz, so confirm that the router has 2.4 GHz turned on.
Step 3: Open the printer wireless setup
Start the setup method your model supports. Easy Wireless Connect lets you send the router information to the printer from a computer or smartphone without operating the router. Canon warns that it can take a while and that your internet connection may be briefly unavailable during setup.
Step 4: Select the WiFi network
The setup app or software shows the networks it can see. Choose the one that matches your 2.4 GHz network name if your model needs it.
Step 5: Enter the WiFi password
Type the network key exactly. Passwords are case sensitive.
Step 6: Confirm the connection
Watch the printer indicator. On the G3010, a steady network status icon on the LCD means it is connected.
Step 7: Add the printer to your computer or phone
The printer joining the network does not install it on every device. See the phone and computer sections below.
How to Connect a Canon Printer Using the Canon App
The app method is useful when the printer has no touchscreen or no easy way to type a password.
- Install the Canon PRINT app on your phone from your app store.
- Connect the phone to the WiFi network the printer should use.
- Put the printer in its setup mode (for example, Easy Wireless Connect).
- Return to the app and follow the on screen instructions.
The printer is discovered while it is in setup mode, the app lets you choose the network, and the credentials are sent to the printer. Menu names inside the app change between versions, so follow the prompts for your model.
How to Connect Canon G3010 to WiFi
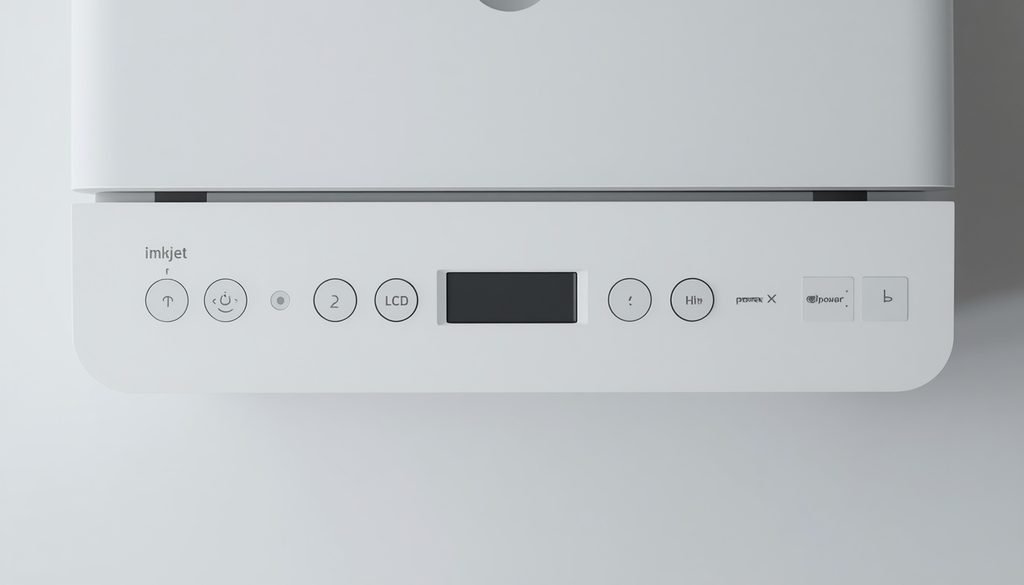
The PIXMA G3010 uses physical buttons and an LCD with icons, not a touchscreen. Here is what Canon’s G3010 documentation says.
Check the band first. Canon states that this printer does not support IEEE802.11ac, IEEE802.11a, or IEEE802.11n at 5 GHz. It supports 802.11n at 2.4 GHz, 802.11g and 802.11b. Use the 2.4 GHz network.
Easy Wireless Connect on the G3010
- If the ON lamp is flashing, press Stop.
- Press and hold the Direct button, and release it when the Direct icon flashes.
- Check that the network status icon and the horizontal bars flash as shown in Canon’s illustration.
- Return to the application screen (Canon PRINT on a phone, or the setup software on a computer) and continue.
WPS on the G3010
- Make sure the WPS button on the router is ready to press.
- Press and hold the Network button on the printer and release it when the network status icon flashes.
- Within 2 minutes, press and hold the WPS button on the router.
- When the connection finishes, the network status icon and the current network status icon stay lit.
Canon’s G3010 documentation also lists a WPS PIN method for manual setup. Follow the official page for the exact steps, because I have not reproduced them here.
Check the connection
Press the Information button to print the LAN setting information. If the network status icon is missing from the LCD, press and hold the Network button for more than 2 seconds to enable wireless LAN.
Do not copy these button sequences to other Canon printers. Canon’s G3030 page uses a Wi-Fi button for WPS, and the G3200 sequence adds a Black button step.
How to Connect a Canon Printer Using WPS
WPS (Wi-Fi Protected Setup) lets a printer join a secured network after you press a button on the router, without typing the password.
When it can be used: both the printer and the router must support it. Not every Canon model supports WPS, and some routers have it turned off.
How the printer enters WPS mode: this varies by model. The G3010 uses the Network button, the G3030 uses a Wi-Fi button, and the G3200 needs an extra button press.
What to press on the router: the WPS button, within about 2 minutes of starting WPS on the printer for the Canon models above.
How to verify: the WiFi indicator stops flashing and stays lit. Print the network settings page if you want proof.
If WPS fails:
repeat quickly, move closer to the router, or switch to Easy Wireless Connect through the app. Dual band routers can also push a WPS session to the 5 GHz band, which a 2.4 GHz only printer cannot join.
How to Connect a Canon Printer to WiFi on a Phone
Two different things happen here:
- Connecting the printer to WiFi means the printer joins your router.
- Connecting the phone to the printer means the phone can find the printer to print.
Do them in that order.
Android and iPhone
- Connect the phone to the same WiFi network the printer will use.
- Install and open the Canon PRINT app.
- Add or select your printer in the app. It is discovered while it is in setup mode.
- Follow the prompts to send the network details to the printer.
- Print a test page.
If the phone is on a different network, or on mobile data, the app cannot find the printer. If your router has no WiFi at all, see Wireless Direct below.
How to Connect a Canon Printer to a Computer Wirelessly
A printer joining WiFi does not mean every computer has it installed.
Windows
Canon models may also ask you to run Canon’s setup software. For the Windows built in method, Microsoft says to select Start > Settings > Bluetooth & devices > Printers & scanners, then Add device next to Add a printer or scanner, wait for nearby printers, and select yours. For wireless printers, Windows and the printer must be on the same wireless network. See Microsoft’s add a printer or scanner page.
macOS
Apple says printers are added through Printers & Scanners in System Settings (System Preferences on older versions). Choose the printer from the list, or add it by IP address if it does not appear. See Apple’s Printers & Scanners settings page.
Wireless Direct: Different From Router WiFi
Wireless Direct lets a device connect to the printer without a router. Canon documents it as a separate mode from connecting through a wireless router.
On the G3010, press the Direct button, then select the printer name (shown as XXXXXX-G3010 series) in the device WiFi list. You may need the password, which you can find by printing the network setting information.
Limits from Canon’s G3010 documentation:
- A device already connected to the internet through a router loses that connection, and a phone may switch to mobile data
- Up to five devices can connect at once
- Devices connected this way cannot communicate with each other
- Printer firmware updates are not available in this mode
How to Connect a Canon Printer to a New WiFi Network
The printer saves the old network name and password. If you replace the router, rename the network, or change the password, the printer keeps trying the old details.
Reconfigure it:
- Make sure the new router has a 2.4 GHz network available (essential for models like the G3010).
- Start the printer’s setup mode again, for example Easy Wireless Connect.
- Choose the new network in the Canon app or setup software, and enter the new password.
- Re add the printer on your computer if it appears offline.
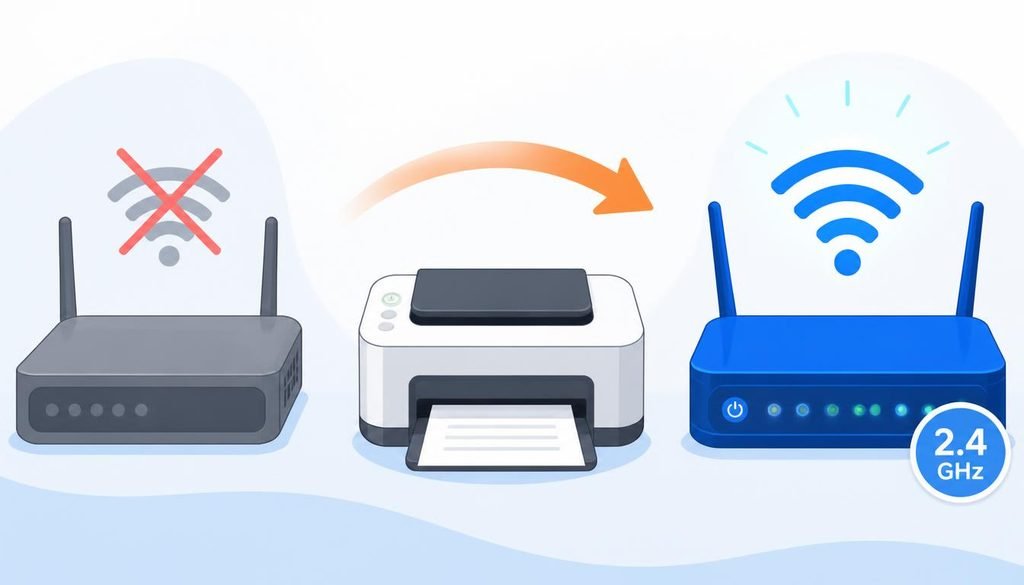
Canon’s G3010 documentation says to redo setup from the setup software or web page, or use the IJ Network Device Setup Utility after turning on Easy Wireless Connect with the Direct button.
If both bands share one name, give each band its own name. Canon suggests this when same name settings or band steering block a connection.
How to Connect a Canon Printer Without a WiFi Password
A protected network requires valid credentials. Legitimate options:
- WPS, where the printer and router support it
- Wireless Direct, where the model supports it, which needs no router
- Router setup tools from your internet provider
- Asking the network owner for the correct password
Do not try to bypass WiFi security. Connecting a printer to someone else’s network without permission can be illegal. Canon also warns that using a network with no security can expose personal information.
How to Reset a Canon Printer’s WiFi Settings
Reset steps differ by model, and no single button sequence works for all Canon printers. The idea is to clear the saved network so setup can start fresh. On the G3010, the documented route is to run Easy Wireless Connect again (Direct button) and reconfigure through the app or setup software.
For other models, search your exact model in Canon’s online manuals and look for the LAN settings or network reset section.
How to Know Your Canon Printer Is Connected to WiFi
A WiFi icon alone is not enough, because the printer could be joined to the wrong network. Check:
- The indicator: on the G3010, the network status icon on the LCD stays lit
- The network setting printout: on the G3010, press Information and compare the network name to your router
- The app: the Canon PRINT app should discover the printer
- A test print from a device on the same network
Why Is My Canon Printer Not Connecting to WiFi?
Problem: The printer cannot find the network.
Cause: the router is using 5 GHz only, or the printer is too far away.
Fix: turn on 2.4 GHz, and move the printer closer. Canon says walls, metal and concrete weaken the signal, and other devices can interfere.
Problem: Setup fails with the right password.
Cause: same name on both bands (band steering) can confuse a printer.
Fix: use separate names, then connect the printer to the 2.4 GHz one.
Problem: The phone or app cannot find the printer.
Cause: the phone is on another network, or the printer is not in setup mode.
Fix: put both on the same network, and restart setup mode.
Problem: The computer cannot find the printer.
Cause: the printer is on a guest network. Guest networks often isolate devices from each other.
Fix: join the main network.
Problem: The printer is offline.
Cause: its address may have changed, or the router (DHCP) is not assigning one properly.
Fix: restart the printer and router. A restart makes the router hand out fresh addresses and clears stuck sessions. If that fails, check router DHCP and MAC filtering.
Problem: Printing stops after the router changed.
Cause: old credentials saved.
Fix: reconfigure as shown above.
Common Canon Printer WiFi Problems
- Picking the wrong network name when similar names exist
- Trying to join 5 GHz with a model that only supports 2.4 GHz
- Phone on a different network from the printer
- Guest network isolation
- Skipping reconfiguration after changing routers
- Assuming WiFi means installed on Windows
- Using WPS on a model without it
Canon’s G3010 documentation points to the IJ Network Device Setup Utility, which diagnoses and repairs network status. Use it when basic checks fail. If your wider WiFi is unstable, see how to fix WiFi problems.
FAQ
How do I reset my Canon printer to a new WiFi network?
Run the printer’s wireless setup again on the new network. The printer keeps the old credentials until you replace them. Use Easy Wireless Connect or your model’s LAN settings, choose the new network, and enter the new password. Exact steps vary by Canon model.
How do I connect my Canon G3010 printer to WiFi?
Use the 2.4 GHz network. Press Stop if the ON lamp flashes, hold the Direct button until the Direct icon flashes, then continue in the Canon PRINT app or setup software. For WPS, hold the Network button instead, then press the router WPS button within 2 minutes.
How do I know my Canon printer is connected to WiFi?
Check the printer indicator, then confirm the network. On the G3010, a steady network status icon on the LCD means it is connected. Press Information to print the network settings and compare the name with your router. A test print from a device on the same network confirms it.
Why is my Canon printer not connecting to WiFi?
The most common causes are a 5 GHz only network, a weak signal, or a wrong password. Some models, including the G3010, support only 2.4 GHz. Move the printer closer, make sure 2.4 GHz is on, and check that the printer and router network settings match.
Can I connect a Canon printer to WiFi without a password?
Only through legitimate methods. WPS lets the printer join after you press the router button, and Wireless Direct needs no router on supported models. A protected network otherwise needs valid credentials from the network owner.
How do I connect a Canon printer to WiFi on my phone?
Put the phone on the same network, then use the Canon PRINT app. Connect the printer to WiFi first, then add it in the app. If the phone is on mobile data or another network, the app will not find it.
How do I add a Canon printer on Windows after setup?
Open Settings, Bluetooth & devices, Printers & scanners, then select Add device. Wait for Windows to find the printer and select it. The printer and computer must be on the same wireless network.
Why does my Canon printer not work after I changed my router?
The printer still has the old network saved. Reconfigure it on the new network, and make sure 2.4 GHz is available if your model needs it. Then re add the printer on your computer if it shows offline.
Conclusion
Connecting a Canon printer to WiFi comes down to three checks: a supported band, the right setup method for your model, and adding the printer to each device. If it still fails, work through the troubleshooting section above. For more help with your network, read how to access your router settings on Problevo.
If you want a broader walkthrough for other brands, read our general guide to connecting a printer to WiFi.